

Natural Makeup Cheat Sheet
So you want to learn about makeup but have no idea where to start? Walking into Sephora feels like entering a foreign land. Maybe you want to take a class but just don’t know if you have everything you need to achieve the look you want. Well, you’re in the right place! I put together this comprehensive list of products to reference before, during and after your next trip to Sephora. This list isn’t an end all be all, but it’s a good place to start. Let’s jump right in.
Notes:
Products with an * are optional. We can finesse our way around them. ;-)
A lot of the high end products come in travel sizes. That’s a great option to try better products for a while before committing to buying full size. Bonus: They probably won’t all run out at the same time. That way you can replace the travel size with full size one at a time instead of buying them all at once. Don’t break the budget $$$
Eyes
Brow pencil: something with a fine tip or something that can be sharpened to a fine tip. Pick a color similar to your hair color (Hint: There’s a difference between dark brown and black. Your natural hair is probably not black.)
My faves: Anastasia Beverly Hills Brow Wiz, Mented High Brow Pencil. I prefer the retractable “pencils” that don’t need sharpening; they also come with a spoolie on the other end which helps with grooming brows.
Concealer: choose a color ~2 shades lighter than your skin tone. You’ll use this to clean up your brows, as your eyeshadow primer and to brighten your under eye.
Mid-range: Morphe Fluidity Full Coverage Concealer
High end- Too Faced Born This Way Multi Sculpting concealer (more product than most, at similar price point), Fenty Pro Filt’r Instant Retouch concealer
*Eyeshadow primer: Like I said above, you can use concealer for this to start. I usually use an actual primer when I do makeup, but you can skip that for now if you want to save a little money.
Drugstore/Mid-range: Elizabeth Mott Thank Me Later (love this one), The Crayon Case eye glue
High end: Fenty pro filt’r eyeshadow primer
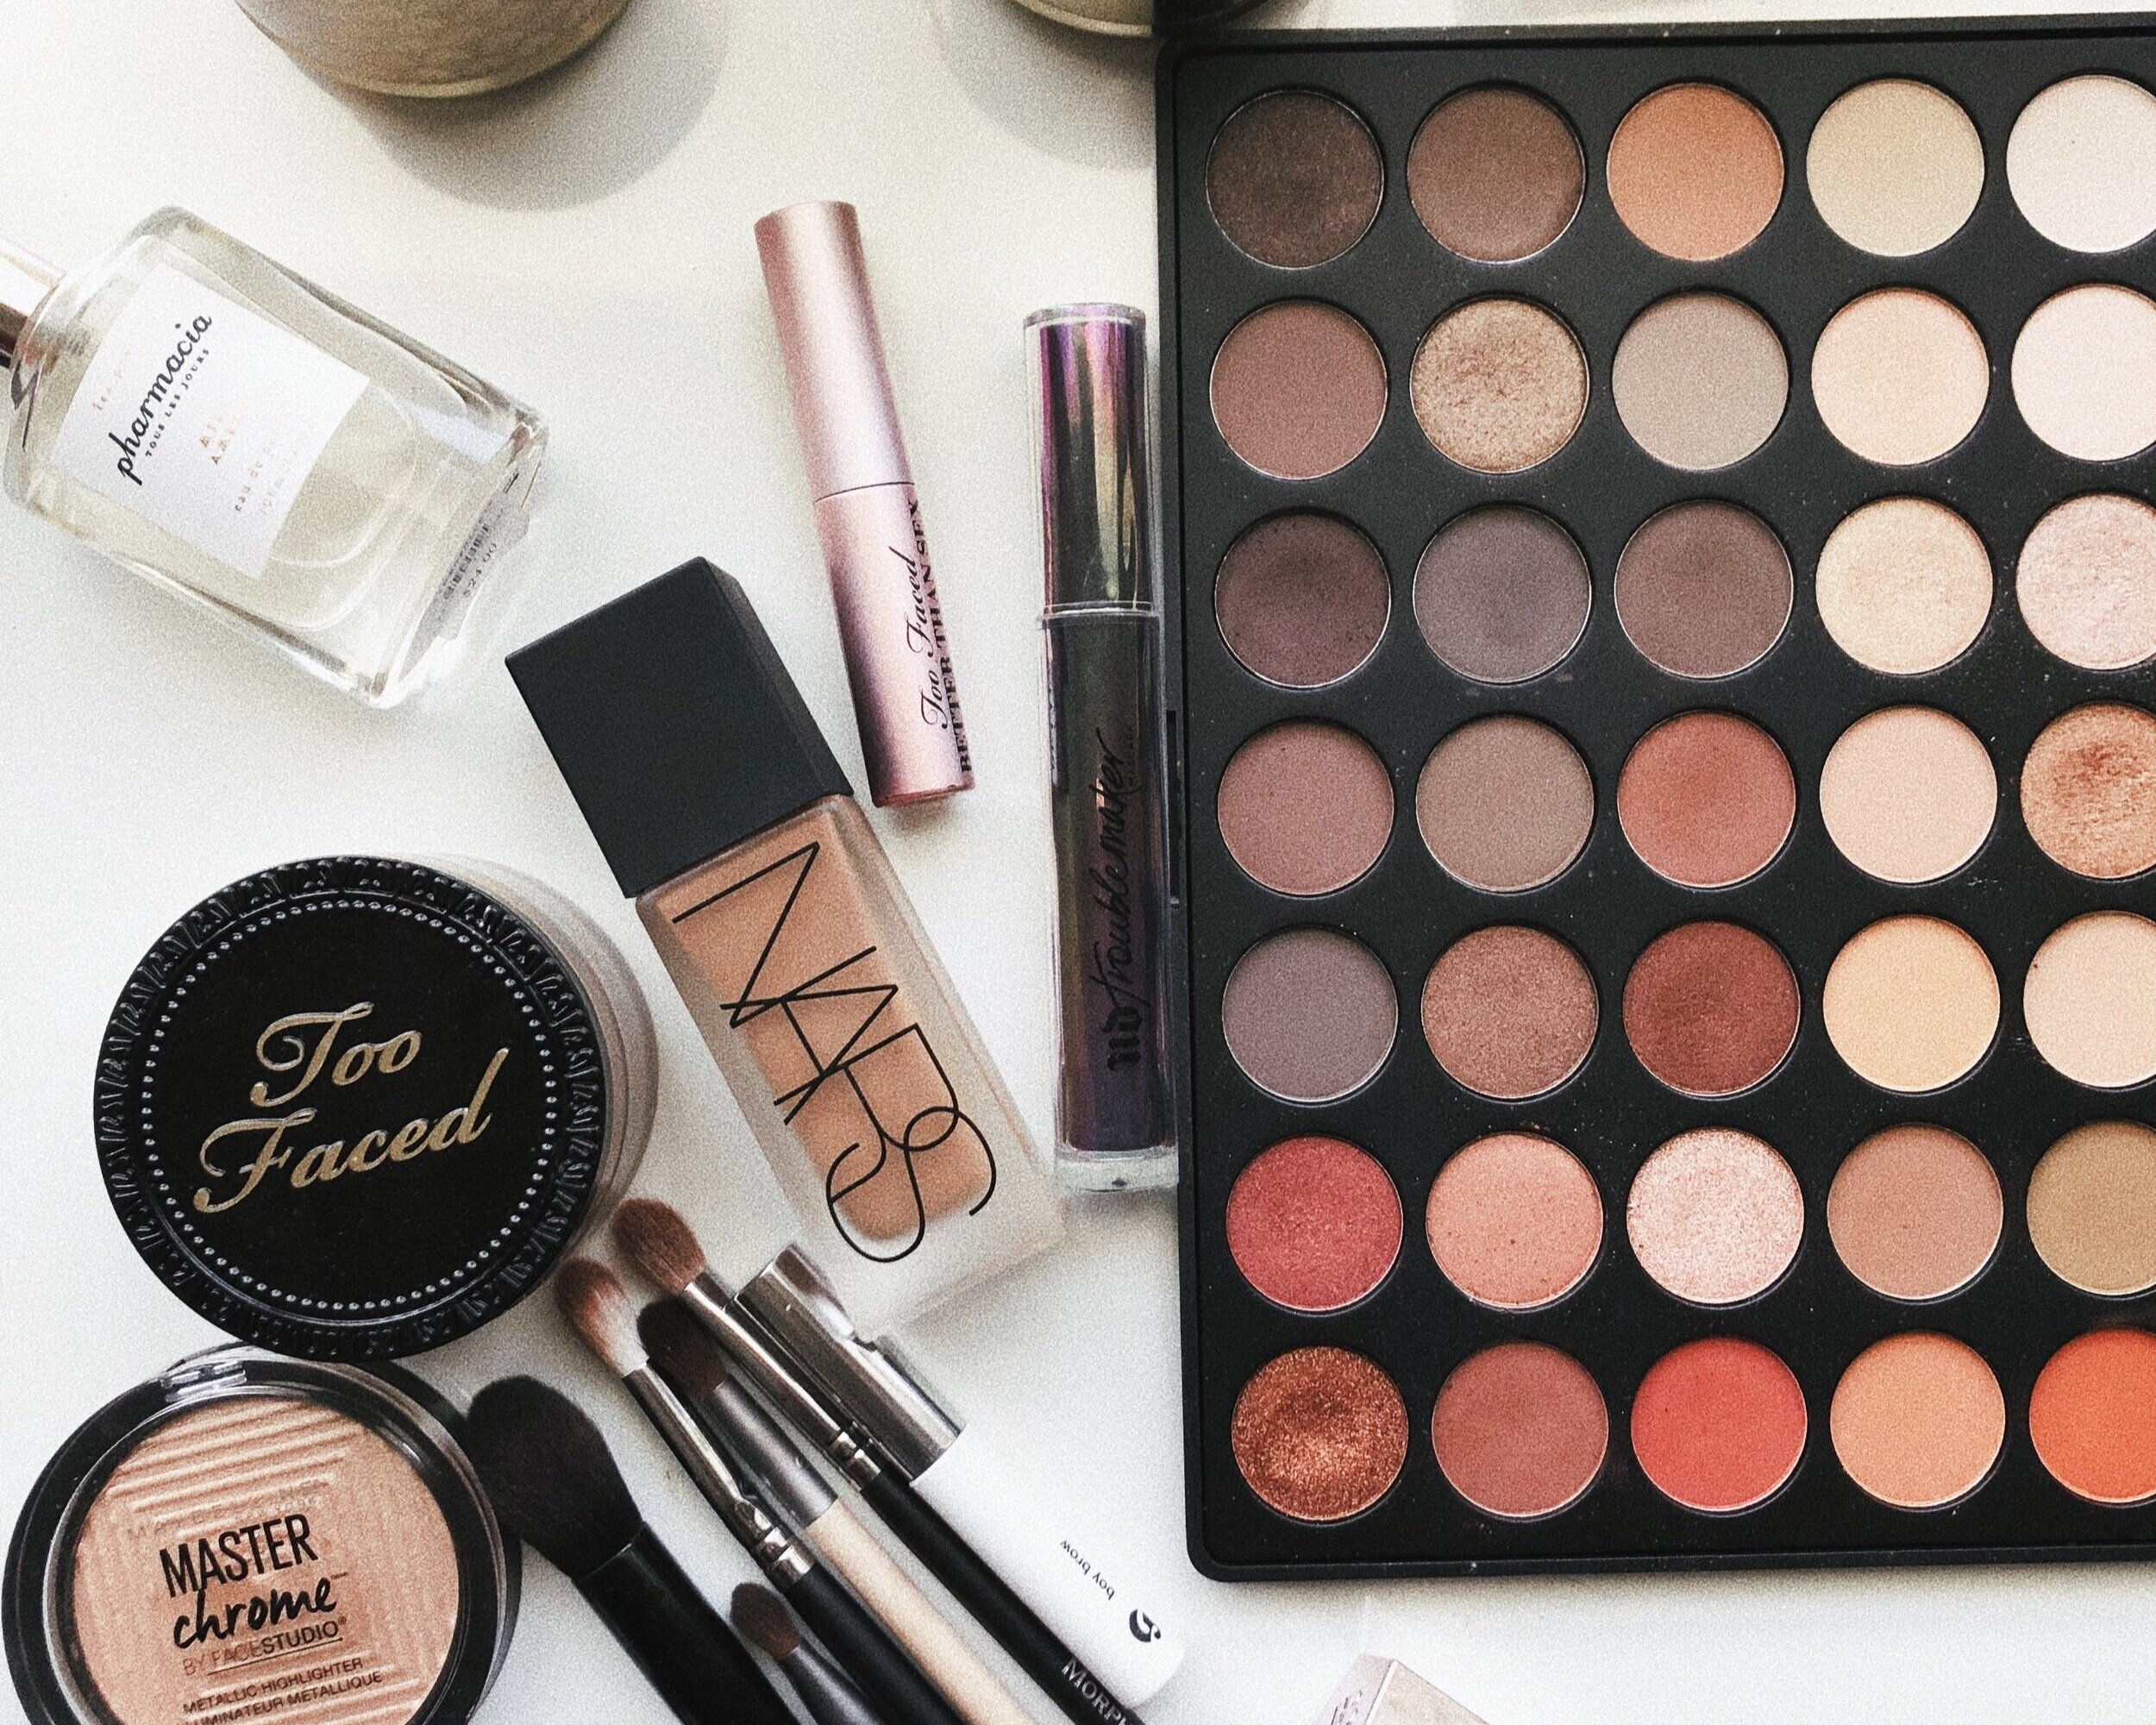
Eyeshadow palette: There are tons of great mid-range options on the market now. Mid-range= better quality product than drugstore brands and better price point than the more luxury brands. I’d recommend a “stand alone” palette for your first palette. That means you can create an entire look with just that palette. You’ll want at least the following included in the palette you choose:
A transition shade- a shade very close to your skin tone
A crease color- something deeper/darker than your skin tone. You’ll use this to add depth and dimension.
A lid color- for a matte look, I usually go with a color slightly lighter than the transition shade. For a shimmer, golds and coppers look great on darker skin tones. A more pinkish shimmer looks great on fairer skin tones.
My faves: Juvia’s place Nubian, Morphe 35V
*Eyeliner: for a softer look, you can use a dark eyeshadow. The palettes I suggested have at least one good “liner” color. For a more defined look, I recommend liquid liner. Drugstore or mid-range are good starting points. (Tip: Pen liners can be a little easier to control than traditional liquid liners.)
Drugstore/online: Crayon Case SharpMe pen liner, NYX liquid liner
Higher end: KVD Tattoo Liner
Mascara: Drugstore brand is fine here.
Drugstore: Maybelline Big Shot
High End: Too Faced Better Than Sex (my all time fave, but sis is pricey lol).
Face
Primer: This will help your foundation lay more flawlessly. There are mattifying and hydrating options. I normally go for a hydrating primer these days. Matte can be okay, but sometimes people over do it.
Drugstore: e.l.f.
Mid-range: NYX Angel Veil
High End: Too Faced Hangover Rx, Milk Hydro-grip, Fenty Instant Retouch
Foundation: Here’s where things get fun! If you have to pick a splurge item, I’d probably pick this. Make sure both the shade and undertone match you. It’s best to try the color out along your jawline and let it dry for a few minutes before judging. Some formulas oxidize as they dry, which will change the color slightly. Keep in mind: Especially for darker skin, every brand may not have your shade. Don’t force it with a brand that didn’t create a shade for you. Representation is important. Support brands that recognize you and make products with you in mind!
Mid-range: NYX Can’t Stop Won’t Stop (SUPER MATTE but beautiful), Morphe Fluidity Full Coverage (not my fave, but it’ll do)
High end matte options: Fenty Pro Filt’r Soft Matte, Huda Beauty Faux Filter
High end Natural/Dewy options: Fenty Hydrating Longwear, Too Faced Born This Way
Bronzer: this should be a couple of shades deeper than your skin tone. Be picky. This is another one that can be harder for black women to find. Don’t force it. Support companies that value you.
Drugstore: Maybelline City Bronzer
High end: Fenty Sun Stalk’r Instant Warmth Bronzer
Blush: there are some pretty good options at any price point. As far as colors, I like a soft pink or berry for my skin tone. Peachy/orange shades tend to look really pretty on deeper skin tones.
Drug store: Almay Healthy Hue Blush
Mid-range: Juvia’s Place Saharan Blush palettes, Mented
Setting powder: I’d go with a high end brand here. Flashback is the devil. We don’t have time to play with these cheap powders ok lol
My fave: Laura Mercier TRANSLUCENT powder. (NOT the invisible powder!!! PLEASE FOR THE LOVE OF GOD!) They offer 3 different shades-- translucent, honey and medium deep.
Honorable mentions: Beauty Bakerie Flour Setting Powder, Too Faced Born This Way Loose Powder
*Highlighter: this is a shimmery loose or pressed powder to add a little glow to the high points of your face. Usually a golden shade will look good on our skin tones.
Drugstore: Maybelline Master Chrome
Mid range: Juvia’s place loose highlights
High end: Artist Couture- “Conceited” is my all time favorite highlight
Setting spray: This will melt your complexion products together flawlessly and lock it into place. (Also a life saver if your face is too matte and needs a little moisture.)
Faves: KVD Lock It Mist, MAC Fix+ (I like the lavender and rose scents), Urban Decay All Nighter
Lips: For natural looks, I’d go with a gloss or satin/soft matte nude lipstick. Pleaseeee don’t just look for “nude” on a label. (Those labels aren’t for us, sis.) Nude does NOT equal tan, milky pink, etc. UNLESS that’s your skin color. Nude= what your body/lips naturally look like. It’s different for everyone. It’s all about YOU! (Note: Drugstore glosses are A-OK. Drugstore lipsticks tend to have a more “factory” smell to them, but there are some decent color options these days.)
My fave glosses: Fenty gloss bomb, Revlon Super Lustrous Lipgloss
My fave nude lipstick brands: Mented (Black owned AND they changed the game for nudes for POC), Anastasia Beverly Hills, MAC.

Tools
Brushes/sponges- It’s best to start with a set. Real techniques, The Crayon Case and Playing in Makeup by Yolondo have good sets to get you started. If you get an eye set and a face set, you’ll probably have everything you need. For reference, you’ll need:
Thin/angled brush for brows
Flat shader brush for shadows
Fluffy blending brush for shadows
Pencil brush (optional)
Foundation brush (I prefer flat top or round top buffer type brushes)
Concealer brush or beauty blender (the ONLY knockoff beauty blender I like is Real Techniques. Aside from that, just buy the real thing.)
Powder brush (big and fluffy)
Blush brush- I prefer an angled fluffy blush brush
Contour/bronzer- something angled or medium sized fluffy brush
Whew okay that was a lot! I remember how confusing this can all be so I wanted to give you a full rundown and hopefully answer some questions you may have had! Now that I’ve gotten that out of the way, I want to make sure I add this: You don’t have to have every single thing on this list to get started. You can even focus on one element at a time if you want (i.e. daytime smokey eye, flawless foundation, highlighting and contouring, etc.). Focusing on one element at a time can help you focus on one technique, one set of products, one set of questions. It can be a little easier for beginners to retain what they learn and build upon that when they start exploring more techniques.
I’m sure you’ll have questions. Don’t be shy! Comment below or contact me and we’ll walk through this together! Let me know what other topics would be helpful for you in your beauty journey. I want to meet you where you are.